
How Scoring and the Control Zone Work
Answer
The first of three teams to reach 100 points wins. Points go to whichever team has the most players standing inside the active Control Zone — a 2×2 km square placed at a randomised position inside a 16×16 km map. Kills pay you cash but do not score for your team. WARDOGS is decided by sustained presence, not by the kill charts, and a team can comfortably top the scoreboard for eliminations and still lose the match.
One mode, one objective
WARDOGS ships with a single game mode, and BULKHEAD has been open about its lineage: it grew out of a King of the Hill design, and the studio published a developer video specifically about evolving that mod concept into a 100-player format.
The structure is deliberately simple:
| Element | Value |
|---|---|
| Players per match | Up to 100 |
| Teams | Three — LONESTAR, VALKYRA, MANTICORE |
| Map size | 16 × 16 km (256 km²) |
| Control Zone size | 2 × 2 km (4 km²) |
| Zone as share of map | About 1.5% of the total area |
| Zone placement | Randomised within the map |
| Win condition | First team to 100 points |
| Scoring rule | Points to the team with the most players inside the zone |
Why headcount beats kills
The scoring rule is worth reading twice: points go to the team with the most players in the zone. Not the team that killed the most people in it. Not the team that got there first. The team with more bodies standing on the square when the tick happens.
Several consequences follow directly from that:
- Trading kills 1-for-1 inside the zone is neutral at best. If both of you die, neither team gains headcount. The player who survives a fight badly is worth more than the one who wins it and dies to the third team a second later.
- Reviving is a scoring action, not just a support one. A revived team-mate is a body back on the square. This is the clearest example of WARDOGS' design deliberately aligning what pays you with what wins the match.
- Retreating out of the zone to heal loses ticks. Sometimes correct, always costly.
- Fighting on the perimeter is a common trap. A firefight 100 metres outside the boundary is a firefight that contributes nothing to the scoreboard while it happens.
The three-team problem
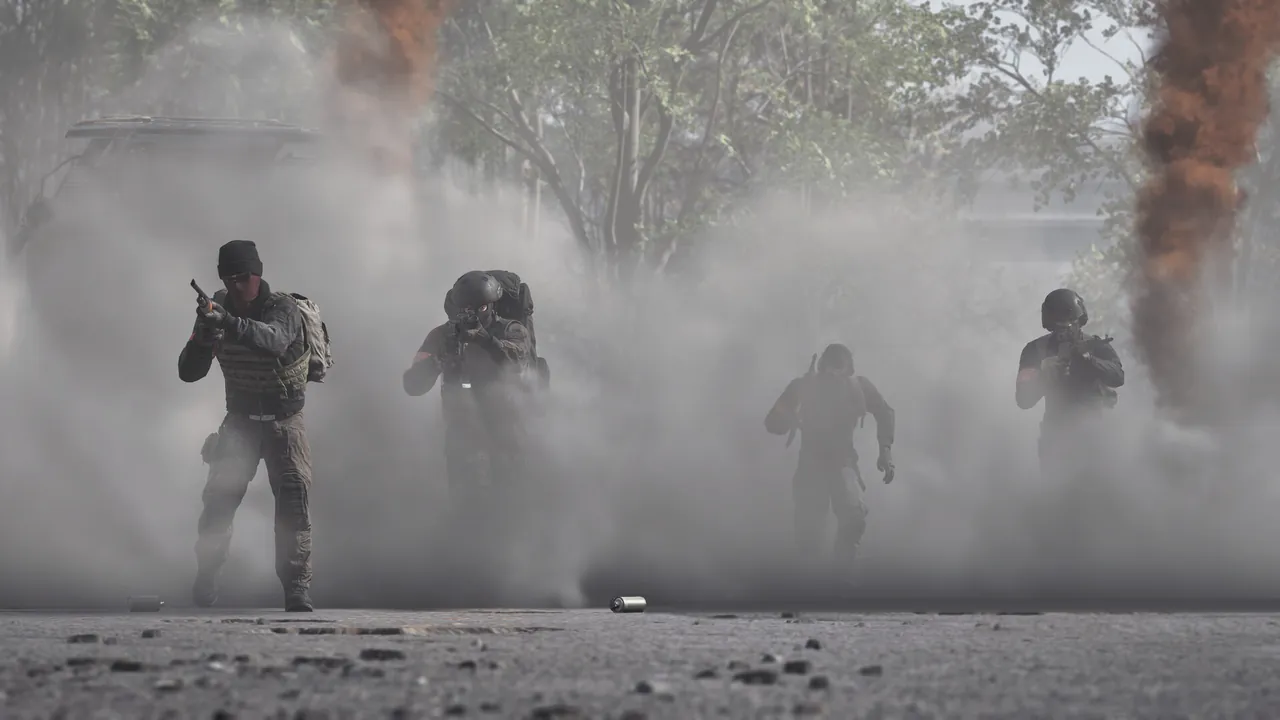
This is the structural idea that makes WARDOGS behave unlike a two-sided shooter, and it is worth thinking about explicitly rather than discovering the hard way.
In a two-team game, committing everything to a push is a straightforward risk: either you break them or they break you. In a three-team game, every fight you commit to is observed by someone who benefits from both outcomes.
Practical patterns that emerge from that:
- The leading team gets pressured from two sides If one faction runs away with the score, the other two are both incentivised to attack it. Being in front is not a stable position, which is a self-correcting mechanism built into the format.
- Two-way grinds are third-party farms If your team and one enemy lock into an attritional fight over the same corner, the third faction is quietly banking ticks. Recognising this and disengaging is a skill the mode specifically rewards.
- Timing beats aggression Arriving at the zone after two factions have spent themselves on each other is worth more than arriving first. Holding a rotation for thirty seconds is a real play.
- Overextending is punished twice Push too deep and you are exposed not to one flank but to two.
Why a randomised zone changes the map
Because the Control Zone spawns at a random position inside 256 km², there is no memorised set of lanes into an objective. The same map plays differently depending on where the square lands:
- A zone over a village is close-quarters, building-to-building, and rewards cheap infantry kits and destruction to open walls.
- A zone in open valley or river terrain favours vehicles, long sightlines and helicopter insertion, and punishes anyone crossing on foot.
- A zone in the industrial mountains creates verticality and cover, making fortifications and mortar positions more valuable.
The practical takeaway: look at where the zone landed before committing your buy. The right loadout on a village zone is not the right loadout on an open crossing. That is the whole reason there are no fixed classes.
How to actually reach 100 points
The short version: get bodies onto the square, keep them there, pick them up when they fall, and let the other two factions spend themselves on each other whenever the option exists. Everything else — vehicles, fortifications, anti-armour, the artillery tank you saved four lives for — is in service of those four things.
- Solve transport first. The bottleneck on headcount is usually how fast your team can get back to the zone after dying, not how well it fights when it is there. A forward operating base near the zone is worth more than most weapons.
- Buy for presence, not for highlights. Armour and a medical kit keep bodies on the square. A marginally better rifle does not.
- Deny rather than duel when you are ahead. If you have the tick, you do not need to win the fight — you need it to stay unresolved.
- Use the third team. Attacking whichever faction is currently winning is usually correct, and you will often find the other one has reached the same conclusion.
What is not yet confirmed
BULKHEAD has not published the tick rate (how frequently points are awarded), whether the scoring margin scales with how large your headcount advantage is, whether the Control Zone relocates during a match, or the match time limit if a team never reaches 100. These are exactly the kind of numbers that get invented by other sites; we will publish them when they are measurable in the live build from 10 September 2026.
Scoring FAQ
How do you win a match of WARDOGS?
Be the first of the three teams to 100 points. Points go to the team with the most players inside the Control Zone.
How big is the Control Zone?
2×2 km — 4 km² — randomly placed inside a 16×16 km map.
Do kills score points in WARDOGS?
Kills pay cash, not team points. Team points come only from holding the zone with a headcount advantage.
Why does WARDOGS have three teams?
To remove two-sided stalemates. Any two teams fighting each other create an opening for the third, which pressures whoever is winning from two directions at once.
Does the Control Zone move during a match?
Not confirmed. The zone's position is randomised per match; whether it relocates mid-match has not been published.
Sources: the official Steam store page (zone size, 100-point win condition, scoring rule, map dimensions) and Team17's Evolving the King of the Hill Mod developer video. Three-team strategy analysis is this wiki's own reasoning from the published rules. Back to all guides.